

Cart
0
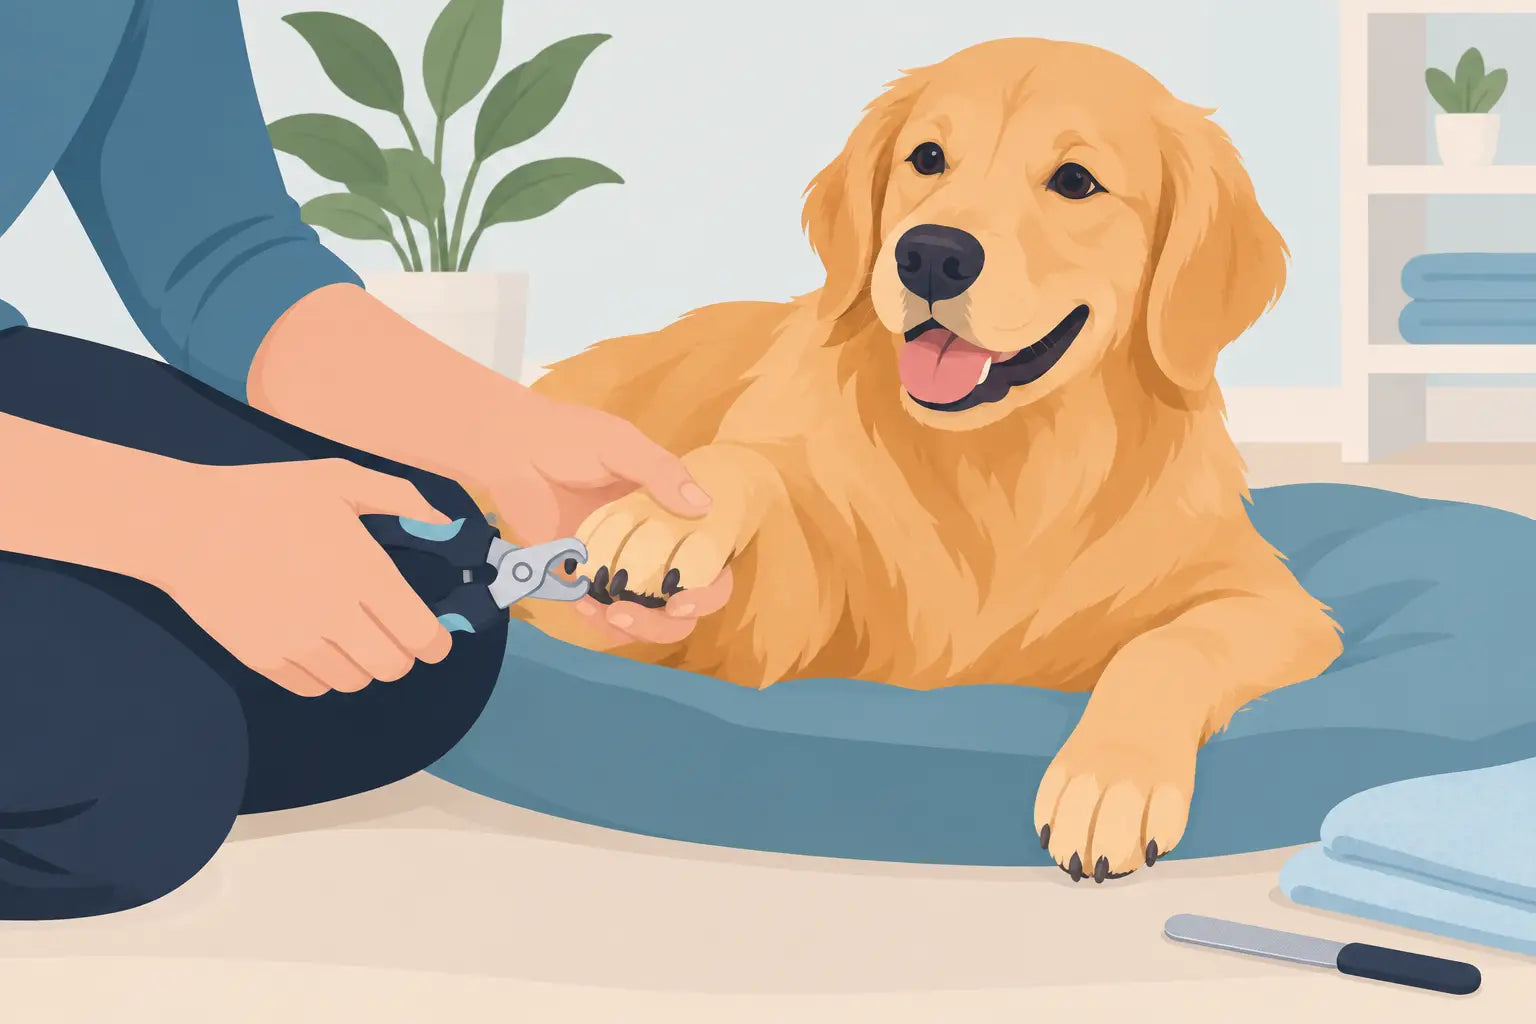
A happy dog can still turn into a wiggly escape artist the moment nail clippers appear. The good news is that you can trim dog nails safely at home without making it a wrestling match. A little preparation, a calm pace, and the right grooming tools can make paw care feel like one more loving part of your routine.
Regular trims do more than keep floors free from that familiar click-click sound. Nails that grow too long can change how a dog stands and walks, put pressure on the toes, snag on rugs, and make everyday movement uncomfortable. For every pet, with love, a few careful minutes of nail care can go a long way.
Why Nail Length Matters for Your Dog
A dog’s nails should usually sit just above the floor when they are standing on a flat surface. If you hear nails tapping constantly on hard floors, see them curving toward the paw pads, or notice your dog slipping more often, it may be time for a trim.
Long nails can be especially uncomfortable for senior dogs, active dogs who need steady footing, and pups who spend most of their time indoors. Dogs who regularly walk on sidewalks or rough trails may naturally wear down their nails more quickly, while soft grass and carpet do very little to file them down. How often your dog needs a trim depends on their lifestyle, nail growth, and paw shape.
Most dogs do well with a nail check every two to four weeks. A quick weekly look makes it easier to spot overgrowth before it becomes a bigger task.
Gather the Right Tools Before You Start
A smooth trim begins before you touch a paw. Choose a quiet spot with good lighting and have everything within reach. Looking for a clipper mid-trim is a simple way to lose your dog’s attention.
For most dogs, you will need nail clippers sized for your dog, a nail file or grinder, treats, and styptic powder or cornstarch in case of a small nick. Scissor-style clippers are often easy to control for medium and large dogs. Guillotine clippers may suit smaller nails, while a nail grinder can be a gentler option for dogs who dislike the sharp clipping sound.
There is no single best tool for every dog. Clippers are quick, but they require confidence about where to cut. Grinders remove small amounts at a time, which can feel less intimidating, but some dogs need time to get used to the sound and vibration. Start with the tool that helps you stay steady and relaxed. Your dog will notice your energy.
How to Trim Dog Nails Safely Step by Step
Start when your dog is already calm, such as after a walk, playtime, or a cozy rest. Avoid beginning when they are bursting with energy or distracted by visitors. If your dog is new to nail trims, the first session may simply be about touching paws and handing out treats. That still counts as progress.
Help Your Dog Feel Comfortable With Paw Handling
Sit beside your dog rather than leaning over them. Gently touch one paw, hold it for a second, then offer praise and a small treat. Repeat this several times over a few days if needed. You can also briefly tap the clipper or grinder against the nail without trimming so your dog learns that the tool is not something to fear.
Some dogs are comfortable sitting, while others feel more secure lying down on their side. Smaller dogs may do best on your lap or on a stable, non-slip surface. Choose the position that gives you a clear view of the nail without forcing your dog into an uncomfortable pose.
Find the Quick Before You Cut
Inside each nail is the quick, a sensitive area containing blood vessels and nerves. Cutting into it hurts and can cause bleeding, so the goal is to trim just before it.
On light-colored nails, the quick often looks like a pink center. Cut a small distance in front of it. Dark nails are less transparent, so take off only a tiny amount at a time. After each small clip, look at the cut surface. When you begin to see a darker center or a small pale circle with a dark dot in the middle, you are getting close to the quick and should stop.
It is always better to take several tiny trims than one large one. You can remove more nail, but you cannot put it back once it is cut.
Make Small, Controlled Cuts
Hold the toe gently but securely, keeping fur out of the way. Position the clipper around the very tip of the nail and cut at a slight angle, following the nail’s natural shape. Do not cut straight across high up the nail.
Give your dog a treat after each nail at first. Yes, it may take longer, but it builds a much better association. As your dog becomes comfortable, you may be able to reward after each paw instead. If they pull away, pause. Let them reset, then try again later rather than holding them still by force.
Do not forget the dewclaws. These are the smaller nails on the inside of the front legs, and sometimes the back legs. Because dewclaws do not touch the ground, they can grow long and curve into the skin if they are overlooked.
Smooth Sharp Edges
Freshly clipped nails can feel a little sharp. Use a file or grinder to round off rough edges, especially if your dog likes to jump, cuddle, or knead blankets with their paws. A few gentle passes are enough. There is no need to make every nail perfectly polished.
What to Do If You Cut the Quick
Even careful pet parents occasionally trim a little too close. If a nail starts bleeding, stay calm. Your dog will take cues from you.
Apply styptic powder directly to the nail tip and hold gentle pressure for a moment. Cornstarch can work as a temporary alternative if you do not have styptic powder on hand. Keep your dog quiet for a few minutes so the clot can set, and offer reassurance without turning the moment into a big event.
If bleeding does not stop after 10 to 15 minutes, if the nail is torn, or if your dog seems very painful, contact your veterinarian. It is also wise to ask a vet or professional groomer for a demonstration if you are nervous about your dog’s nail shape, dark nails, or unusually long quicks.
Make Nail Trims Easier Over Time
Consistency matters more than finishing all four paws in one sitting. For a nervous dog, trim one nail today, two tomorrow, and another few the next day. Short, successful sessions create trust much faster than a long session that leaves everyone stressed.
Try pairing nail care with something your dog already enjoys. A lick mat with a dog-safe spread, a favorite chew after the session, or a handful of tiny training treats can shift the routine from dreaded to manageable. Keep grooming supplies together in one easy-to-reach place, so you are ready for quick touch-ups when nails start clicking again.
At My Pet Your Pet Our Pet, we believe everyday care should feel practical, positive, and full of the love your companion deserves. A comfortable grooming setup, quality tools, and a few well-timed treats can help make home care easier for both of you.
When to Choose a Groomer or Veterinarian
Home nail trims are a great fit for many dogs, but not every situation needs to be handled alone. A professional groomer may be the right choice if your dog is extremely fearful, strong enough to make safe handling difficult, or overdue for a trim with tightly curled nails. A veterinarian is the better choice for broken nails, swelling, limping, redness around the nail bed, or nails growing into the paw pad.
Asking for help is not failing your dog. It is another way to protect their comfort and keep grooming from becoming a scary experience.
The next time you hear that click-click across the kitchen floor, think of it as a gentle reminder, not a chore. Take it one paw, one tiny trim, and one treat at a time. Your dog does not need a perfect pedicure - just patient care from the person they trust most.

